How do I schedule my new arrival emails?
Step One: Select the proper tool
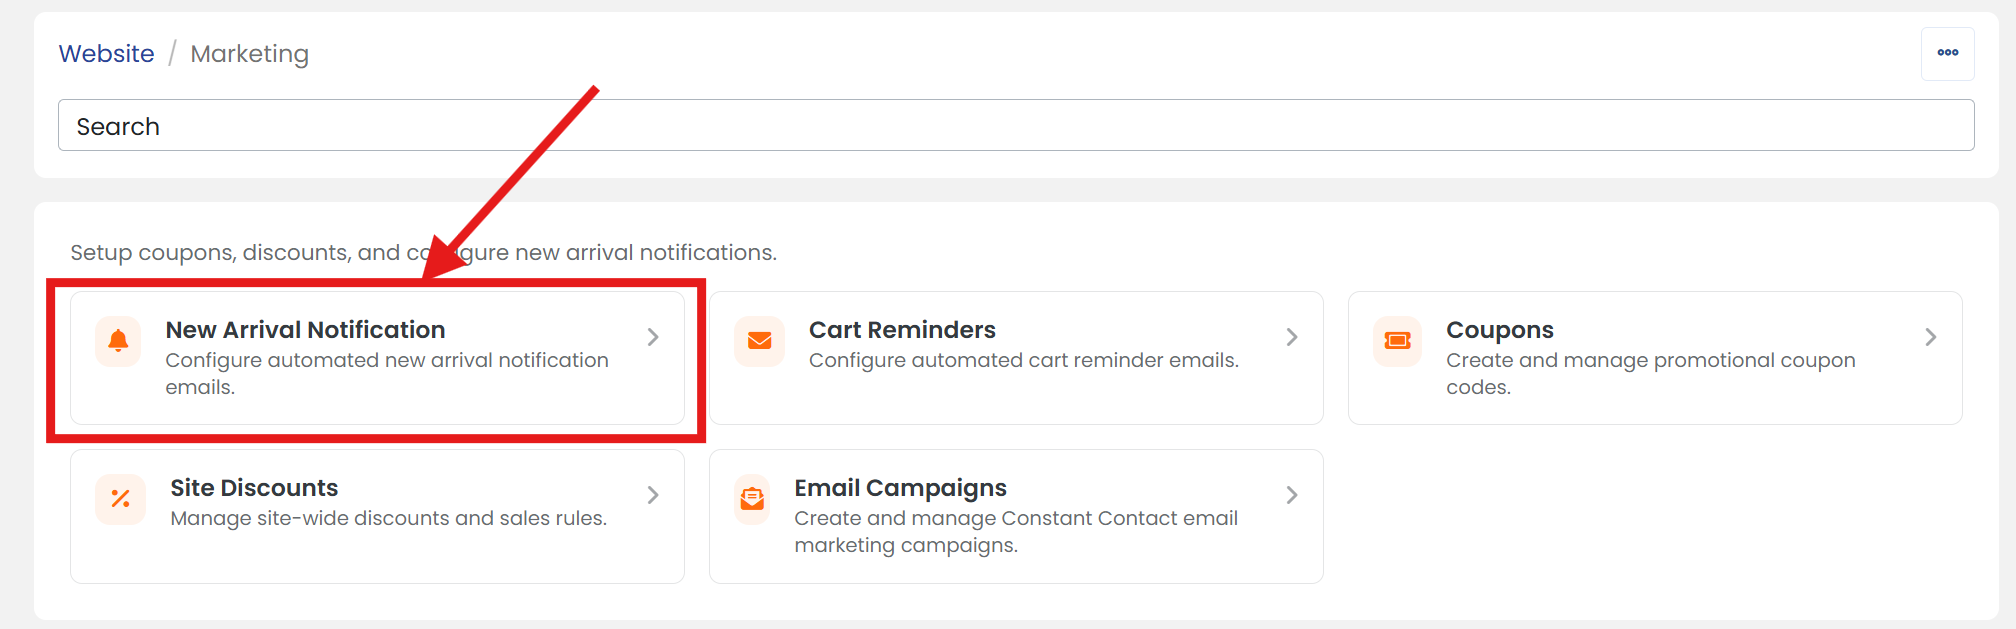
Click on 'Marketing' link under the 'Website' heading of the Control Panel menu.
Step Two: Select notification tool
Click on 'New Arrival Notification' section to open its settings page.
Step Three: Set email frequency
On the 'SETTINGS' tab, next to 'Email Schedule', select your preferred the frequency from the dropdown menu to automatically send 'New Arrival' emails to your customers.
Step Four: Select Email Day
Next to 'Days of week', select the day from the dropdown menu on which you would like to send 'New Arrival' emails.
Step Five: Set start time
Next to 'Start at', select the time of day from the dropdown menu when you'd like to begin sending 'New Arrival' emails.

Note: because emails are staggered, the exact time is not guaranteed. Choose the day that you would like email staggering to begin and target start time. Emails send on an hourly basis and continue until all emails have been sent.
Step Six: Don't forget to save
When you are finished, scroll up/down to click the 'SAVE' button.